Skip Navigation

Documents

Skip Side Navigation

Documents in the DAM

Uploading your document to the Digital Assets Manager (DAM) is very important, and following the steps below and paying close attention to the notes will ensure that your document is optimized for best web viewing and accessibility by all users.

Access DAM

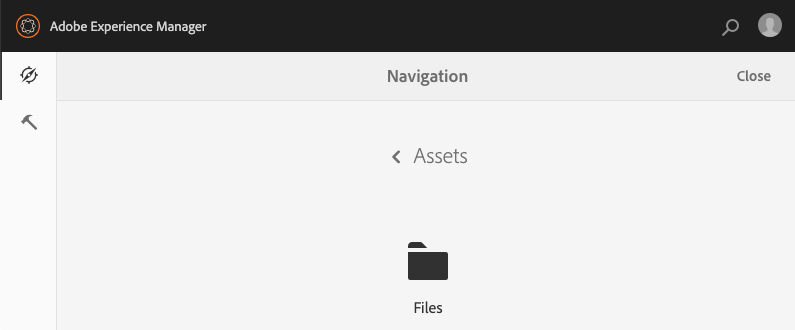
To access the DAM, click the Adobe Experience Manager logo at the top of the Site Admin.

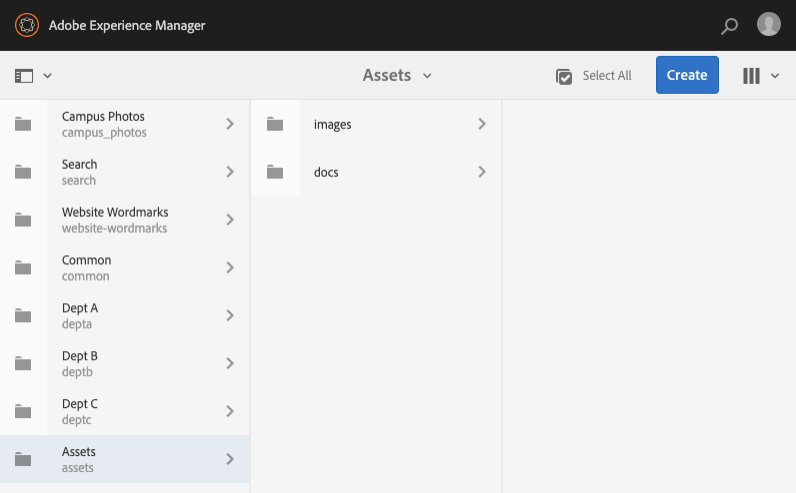
Select Assets -> Files -> Your DAM folder

File Types That Can Be Uploaded

Name vs. Title

Name is part of the URL, so just like pages, file names should always be lower case with hyphens between words. Spaces in web will read as %20, so for example:

GOOD: cms-training-sample-document.pdf
BAD: CMS Training Sample Document.pdf (would read in the URL bar as CMS%20Training%20Sample%20Document.pdf)

Title is important for screen readers and those who disable files from showing on their pages. These should always be proper case and descriptive.

How to Upload a Document


Select the folder you wish to upload your document to – note, there is a folder for each site, so please find your folder and then either select an existing folder or create a new folder.

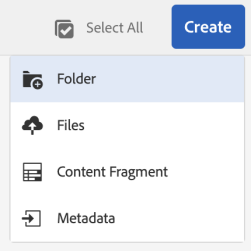
Once you have the folder selected where you wish to add you document, click the Create –> Files buttons.

Document Uploaded


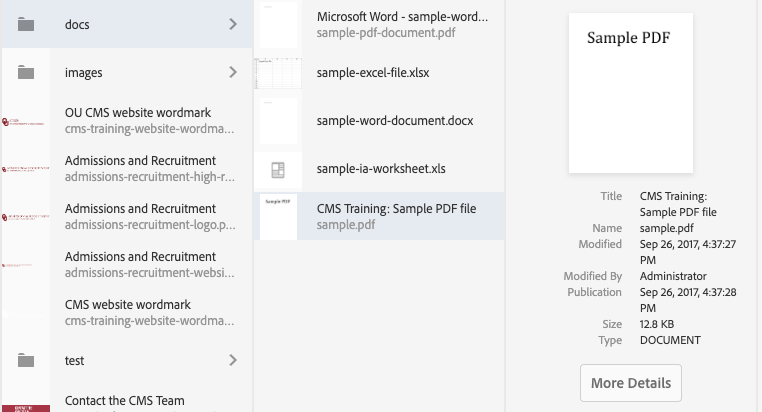
When you upload an document, it will appear as the last asset in your list of assets.

Steps to Use Your Document


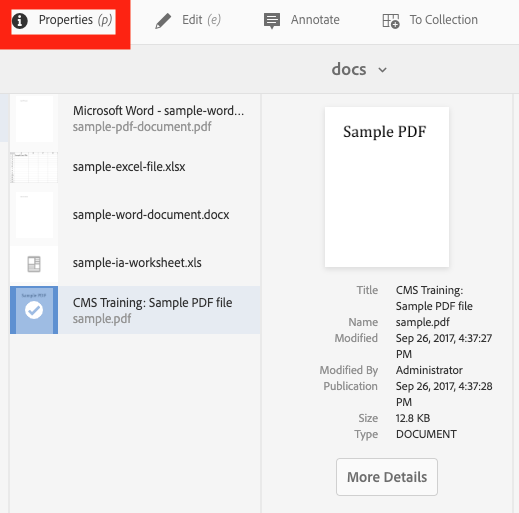
Select your document via the icon to the left of the document Title/Name and choose Properties up top.

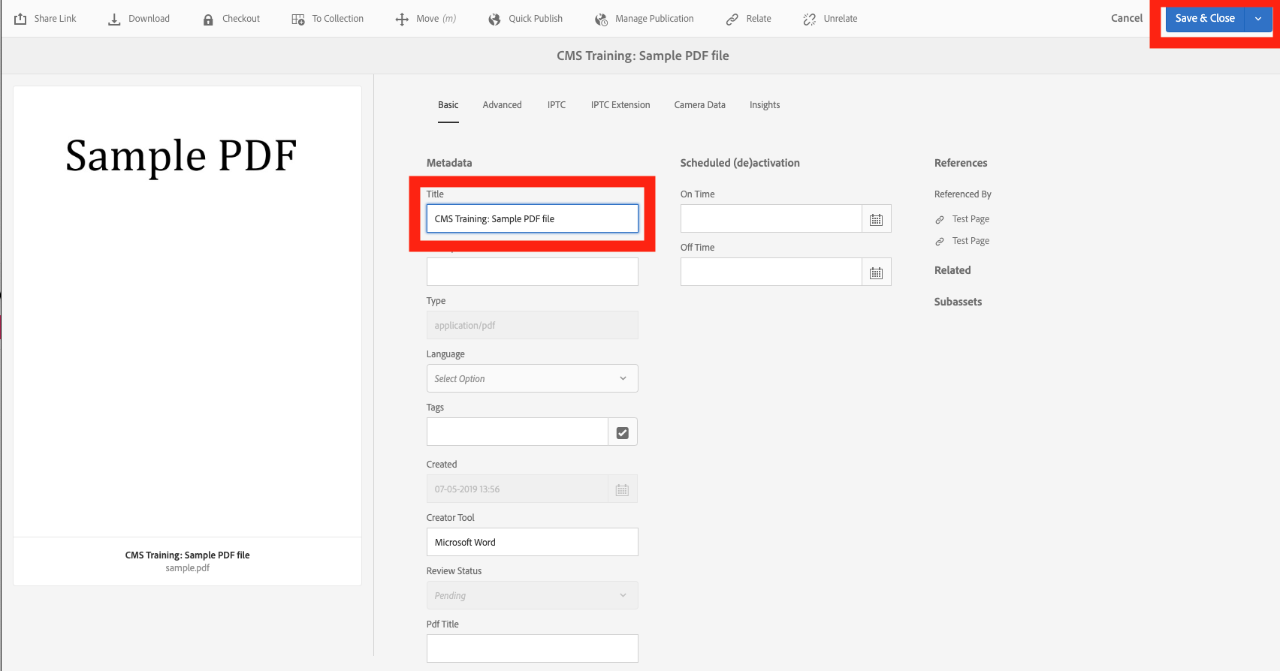
**IMPORTANT: Your document may already have an inherited title from the document itself when you upload it, so you may want to save a NEW Title for the document.

***BONUS: The Title you add will get used for the life of the document – so if another department uses your file, they will inherit your Title. ALSO, Title (and Name) may be used for searching purposes in the Assets tab of the side panel.

NOTE: The Title for the sample.pdf file that was uploaded for this example had an inherited Title of 'Microsoft Word - Document1', but it was changed to 'CMS Training: Sample PDF file'.

Title DO's:

  • Title should be proper case
  • It should be descriptive of what the document is – but does not need to be incredibly detailed

Title DON'Ts:

  • DO NOT use a list of tags/keywords (ex: CMS, CMS Training, website, PDF, document, testing, training, OU, University of Oklahoma, web stuff)
Save Title

Once you add the Title, you will need to Save the Title to your document.

You will find the Save and Close button at the top right corner of your window.

Click Save and Close.


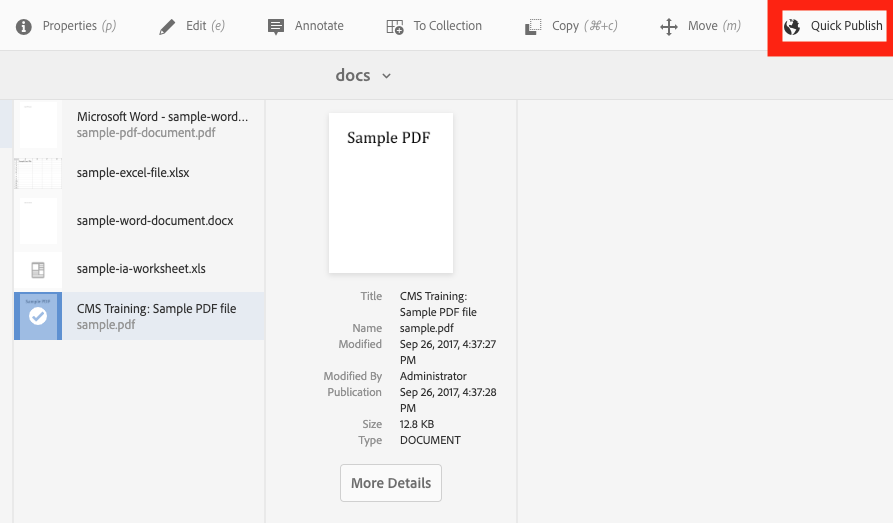
Once you've added your Title and Saved the Title

  1. Select your document via the icon to the left of the document Title/Name
  2. Click Quick Publish

Displaying via OU Download:

Your document is now ready to be used. You may access it via the Assets tab (first tab) and the Documents dropdown in the Side Panel (on the left side of your pages).


Displaying via Text, Text Image, or OU Table:

  1. Create link text
  2. Select Hyperlink (chainlink icon)
  3. Click checkbox next to Path field
  4. Navigate to file in DAM
  5. Select file -> Hit Select
  6. Close Hyperlink