Practical Tips for Leading Live Sessions
Whether you are a newcomer to the world of virtual class meetings or a seasoned veteran looking for a few new ideas, we have got plenty of tips to help you engage students, control your environment, facilitate the session and leverage the recordings afterwards.
Before the Live Session
Engage students
Students are more likely to join Live Sessions if they perceive them as valuable. Here are some ways to encourage them to attend.
- Set expectations about attendance, participation and etiquette at the beginning of the course.
- Provide a brief description of the upcoming session. Make the connection to other learning activities explicit and explain what you intend for students to learn. Adult students like to know “what’s in it for them”.
- Provide slides and handouts in advance so students can take notes and follow along during the Live Session.
- Start a weekly discussion thread where students can post questions that they would like you to address during the virtual class.
- Give students an activity to attempt in advance of the Live Session and provide answers and feedback during the virtual class meeting.
Control your physical environment
If It is important to create an environment that will help both you and your students focus.
- Find a quiet space where you are unlikely to be disturbed. If you have pets, put them in another room or outside. Inform others not to interrupt or be too loud.
- Be aware of what is going on behind you. Is your TV on? Is someone cooking dinner in the background? If so, this could be very distracting for students. Try sitting in front of a blank wall.
- Have supplies within reach. Don’t leave the view of your webcam to fetch your tablet, textbook, coffee, etc.
- Check your lighting. Don’t sit near a bright light source. Otherwise, students will see only a shadowy figure. You may need to close blinds, move lamps, etc.
Control your online environment
Controlling your physical and online environments is essential for anxiety management. The slightest hiccup can sometimes throw a seasoned professional off track. Luckily, there are some things you can do in advance of your Live Session to help reduce your anxiety and ensure a smooth delivery.
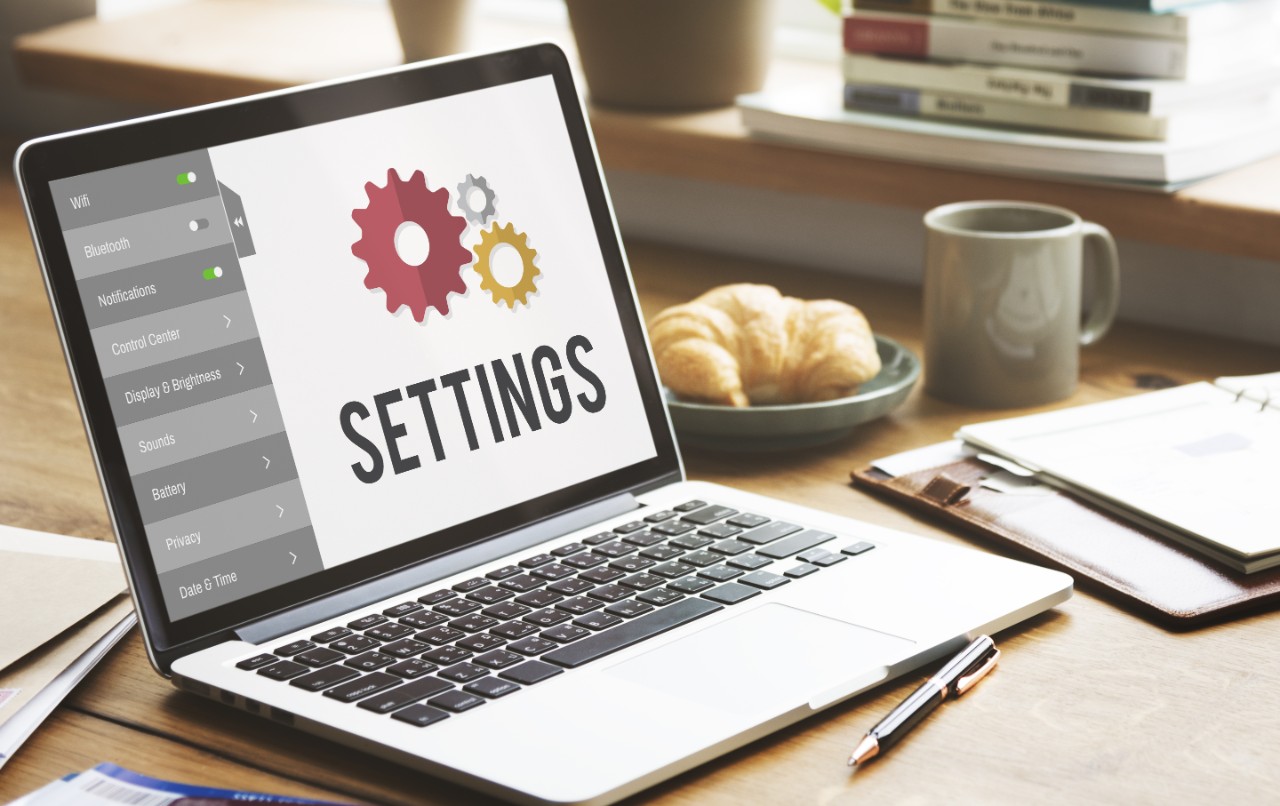
- Check your settings. Check the microphone, audio and video settings on your device. Also, check the settings in your Zoom account.
- Make sure your device is fully charged. Some laptop batteries don’t hold a charge for long or may already be low without you being aware. For a foolproof plan, plug in your computer to charge while hosting the session.
- Check WIFI strength or plug in an ethernet cable. If you are working from home, you may be competing with others for bandwidth, which can cause your internet to lag.
- Turn off notifications. Otherwise, they will show up while you are sharing your screen.
- Open files before the meeting and minimize them. That will make it faster and easier to find when you need them.
- Use one window, many tabs. Use one excel workbook, many tabs. When sharing your screen, it takes more time to switch from window to window or to open and close different excel files. Plus, it is easy to lose what you are looking for when too many files and windows are open on your desktop at the same time.
- Close browsers, programs and apps not in use. This will free up resources for your computer, improving its performance with your conferencing software.
- Check screen resolution (1280x720). While your new computer may support much higher resolutions, changing the resolution to 1280x720 will ensure your students will be able to see and read anything you share.
- Increase the size of your cursor. This will make it easier to see while you are presenting.
- Avoid distracting virtual backgrounds. The virtual classroom should be a professional environment. While virtual backgrounds might be fun with friends and family, they can be distracting in a learning environment.
During the Live Session
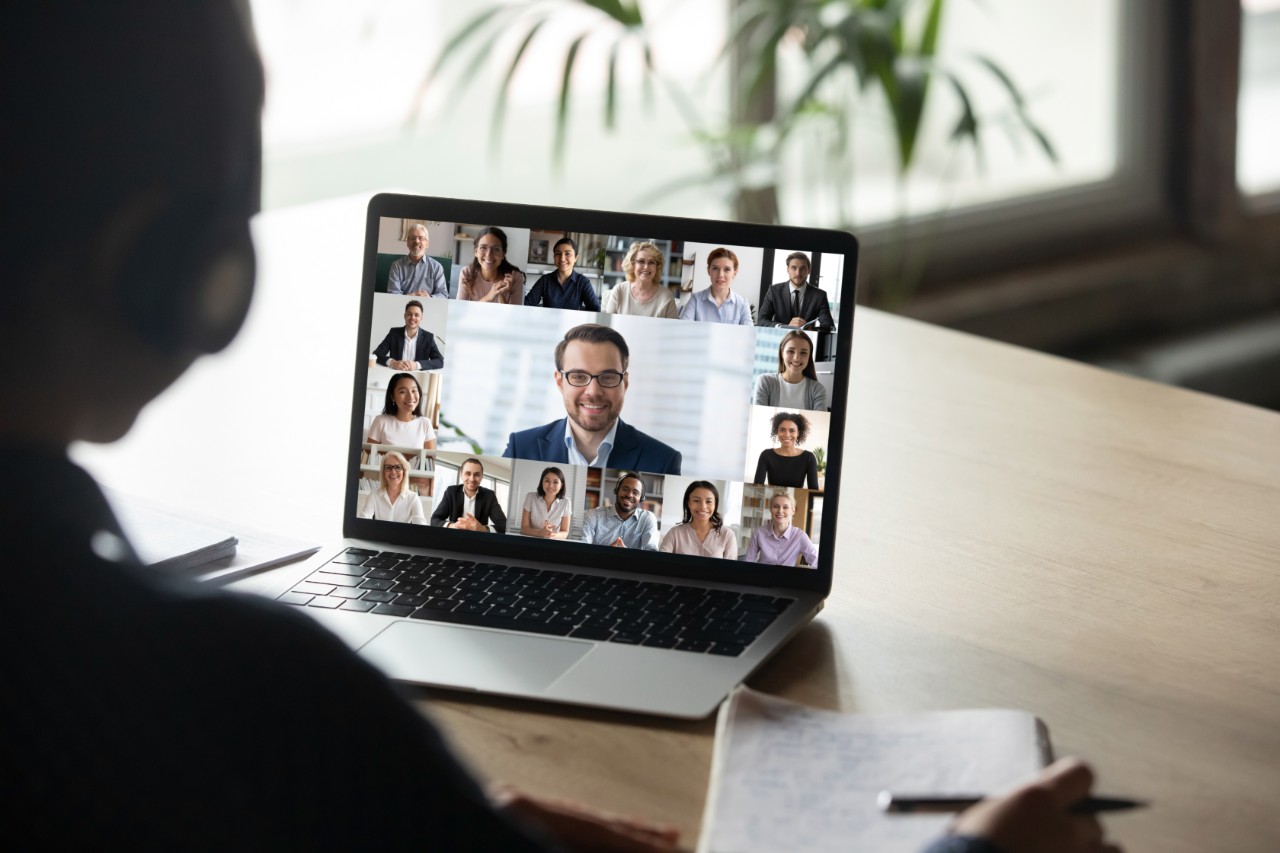
Tips for facilitating your Live Session
There is a lot to juggle if you want to offer effective and engaging Live Sessions, especially if you are working with large classes. These tips can help you manage.
- Plan to incorporate interactive elements. Plan to use polls, breakout rooms, screen share and chat to promote student engagement and active learning.
- Start with an outline. Prepare an outline of the content, skills and activities you intend to cover during the Live Session, as you would for a traditional class. Sharing this at the beginning of the session provides a roadmap for what students are about to do and helps them organize their learning.
- Recruit a “banter buddy”. If you teach a large group, it can be challenging to follow everything happening with your students while managing the class. Ask your TA (or one of your students) to monitor the chat box and the participants’ activity. Pause occasionally and have your buddy choose the most interesting items or questions to float to you. Encourage your “banter buddy” to respond to questions directly if they can confidently answer them.
- Avoid saying “uh-huh” and “yeah”. Most virtual meeting software will cut the camera to whoever is speaking. If someone is speaking and you interject with “uh-huh”, the camera will focus on you. This can be extremely distracting.
- Use annotation tools. If you are sharing your screen or using the whiteboard, use the annotation tools to help students pay attention to important information. Design slides with annotations in mind. For example, leave a blank space in your slide so you can work through a formula, draw a flowchart, add students’ ideas, sketch a model, etc.
- Put your notes eye-level and behind your webcam. This will help you will look like you are having a conversation with your students, which is much more engaging than if you were to look down at your notes.
- Talk through what you are doing if you are disengaged for a moment, so students don’t feel like they are being ignored. You can say, “I’m just reading through your questions” or “I’m just setting up the Breakout rooms so this might take a minute”.
- Use two monitors. You can use one monitor for your students and the other for slides, websites, spreadsheets or other learning materials. Some instructors use two devices, such as a laptop for managing the class and a tablet/stylus for annotating on the whiteboard. If you do that, make sure the sound is turned off on one of your devices.
After the Live Session
You should record your Live Sessions. There are plenty of ways that you can make use of those recordings after class.
- Suggest students review the content before exams.
- Offer make-up or follow up activities. If you usually give participation or attendance points, you might want to consider offering make-up activities for students who couldn’t join in real time. Have them watch the recording and do a meaningful activity that holds them accountable for the viewing. For example, viewers could post a link to an article that relates to one of the issues/topics discussed in the Live Session. Viewers could write a 5-item quiz testing key points from the class discussion, which could be used as a review in the next Live Session. Viewers could watch and create a top-10 list of key takeaways, which could be shared with others
- Use recordings of Live Sessions to provide additional content for future classes or other courses. For example, choose a project presentation from last semester’s class as an example for a new class. Use a recording of your Spanish III students discussing their weekend to elicit or correct the use and form of the past tense with your Spanish II students
- Share recordings of Live Sessions with colleagues as part of a professional development activity.