
OU's Official Registered Student Organization and Engagement Platform.
Greetings, RSOs, University Departments, and OU Community,
Over the summer, the University will transition the OU ENGAGE platform to a new portal. As part of this migration, all departments, student organizations, faculty, staff, and students are being asked to prepare accordingly.
By June 1, 2026: Download Data
For Student Organization Leaders and Advisers, log into www.ou.edu/engage and:
Download all relevant organization files and images in the Roster, Documents, and Gallery tools.
Export all organization forms in the Forms tool. Make sure to also look at your archived forms to capture all of them.
Review and accept or deny any pending submissions in your Forms tool.
Export all budget applications from the Finance tool.
Save any relevant event attendance reports.
Please reference the Student Leader Resource Guide for assistance in finding these items (LINK).
For All Students
Download copies of your Cocurricular Transcript (LINK).
What’s Next?
In the coming weeks, throughout the summer and the fall semester, the university will provide:
Migration details and launch dates for the new OU ENGAGE platform
Step‑by‑step guidance for getting started
Training sessions and resources for students, officers, and advisers
Please check your OU email over the summer so that you do not miss out on important information.
What to Expect?
This transition reflects OU’s continued commitment to providing modern, accessible tools that strengthen student engagement and organizational effectiveness. The new OU ENGAGE platform will offer a robust, user‑friendly platform that supports the full range of campus engagement activities:
Mobile app experience
Student organization registration and management
Event creation, promotion, and attendance tracking
Roster and officer management
Communication and messaging tools
Improved reporting and analytics
We appreciate your cooperation and flexibility as we prepare for this transition. If you have questions or need assistance, please feel free to contact me. Thank you for your continued engagement at the University of Oklahoma.
Operating out of the Division of Student Affairs and OU Student Government and Organization Services, ENGAGE is OU's student organization and engagement platform. ENGAGE gives students to ability to explore the community of OU Registered Student Organizations (RSO), attend events, complete forms, and also to manage an RSO with registration, finances, event attendance and tracking, roster management, service hours, and forms.
If you're new to ENGAGE and have just taken on the role of an officer in an RSO, the Student Leader Resource Guide takes you through the various steps of managing your organization.
ENGAGE is required for the following:
P.S. - ENGAGE also allows you to see upcoming events and RSVP for them!
To fully access all of the organization exploration and management tools in ENGAGE, you must go to www.ou.edu/engage with your standard internet phone browser. The platform's design and layout has been configured to work on mobile platforms without needing an app.
However, if you are looking for an app experience, you can access ENGAGE events by student organizations, departments, and other community events, on the CORQ app. In addition, you can access and download your ENGAGE event pass (see below) on the CORQ app.

Registering for and attending campus events is made easy through the use of your own personalized Event Pass in ENGAGE. Simply follow the step-by-step guide below.
You can follow this step-by-step guide on how to access your Event Pass from ENGAGE or the Corq app on your mobile device.
There are 2 ways to access your unique ENGAGE Event Pass:
1. ENGAGE platform:
2. Corq App (watch the video below!)
Corq is ENGAGE's event app which gives the user abilities to search for campus and community events as well as access to the ENGAGE Event Pass.
Simply have your Event Pass ready to go (either in browser, the Corq app, or your mobile wallet) when attending an event and the organizers will scan your Event Pass to check you in. Enjoy and start getting engaged on campus!
RSOs:
An RSO must have an active page in ENGAGE to track attendance. Users must also have access to the organization's management tools in ENGAGE to create new events. Please review the RSO Event Registration page for more information on creating an event in ENGAGE. After your event has been approved, you will have the ability to track attendance.
UNIVERSITY DEPARTMENTS:
University departments must have an ENGAGE page in order to set up events and track attendance. If you are unsure whether your department has a page, please visit OU ENGAGE and search for the page.
If you are in need of a department page, please email the following information to Student Government & Organization Services Office:
Organizers must also have access to the event management tools in a department's page to create events. Log into ENGAGE and do the following:
For general assistance with ENGAGE, please contact George Ahmadi at kga@ou.edu. You may also reference the reference guide below for navigating ENGAGE.
Using ENGAGE for event check-in and tracking is made easy through the use of event passes and creating events in ENGAGE.
You can follow this step-by-step guide on how to utilize the Event Check-In feature after setting up your event in ENGAGE.
Event Check-In App Walkthrough
Quick Step-by-Step:
A. Download the "Campus Labs Event Check-In" app in your app store (iOS or Android).
B. Create an Event in ENGAGE.
C. Using the Campus Labs Event Check-In:
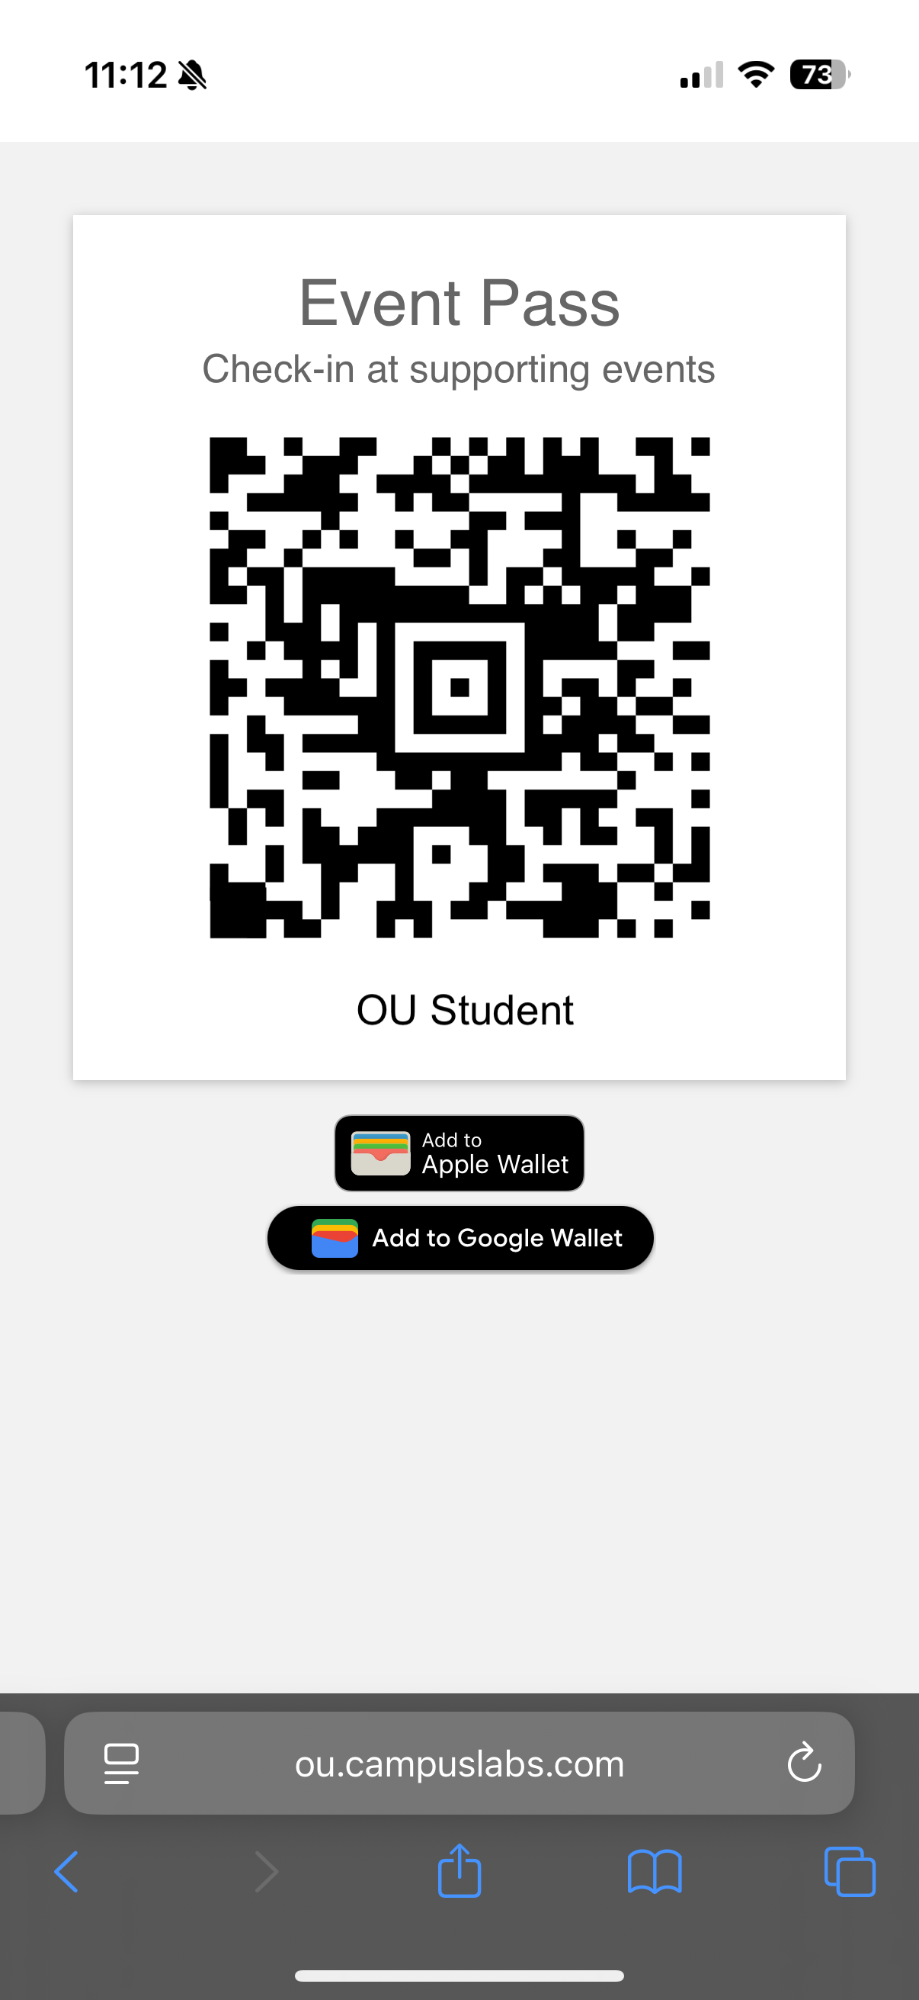
What is an Event Pass?
Similar to the mobile boarding passes used on airlines, every user is provided a secure unique mobile Event Pass for check-in at events. As you show up to events, pull up your Event Pass and the event organizer can scan you in. This automatically connects to your account to ensure you’re assigned participation for the event.
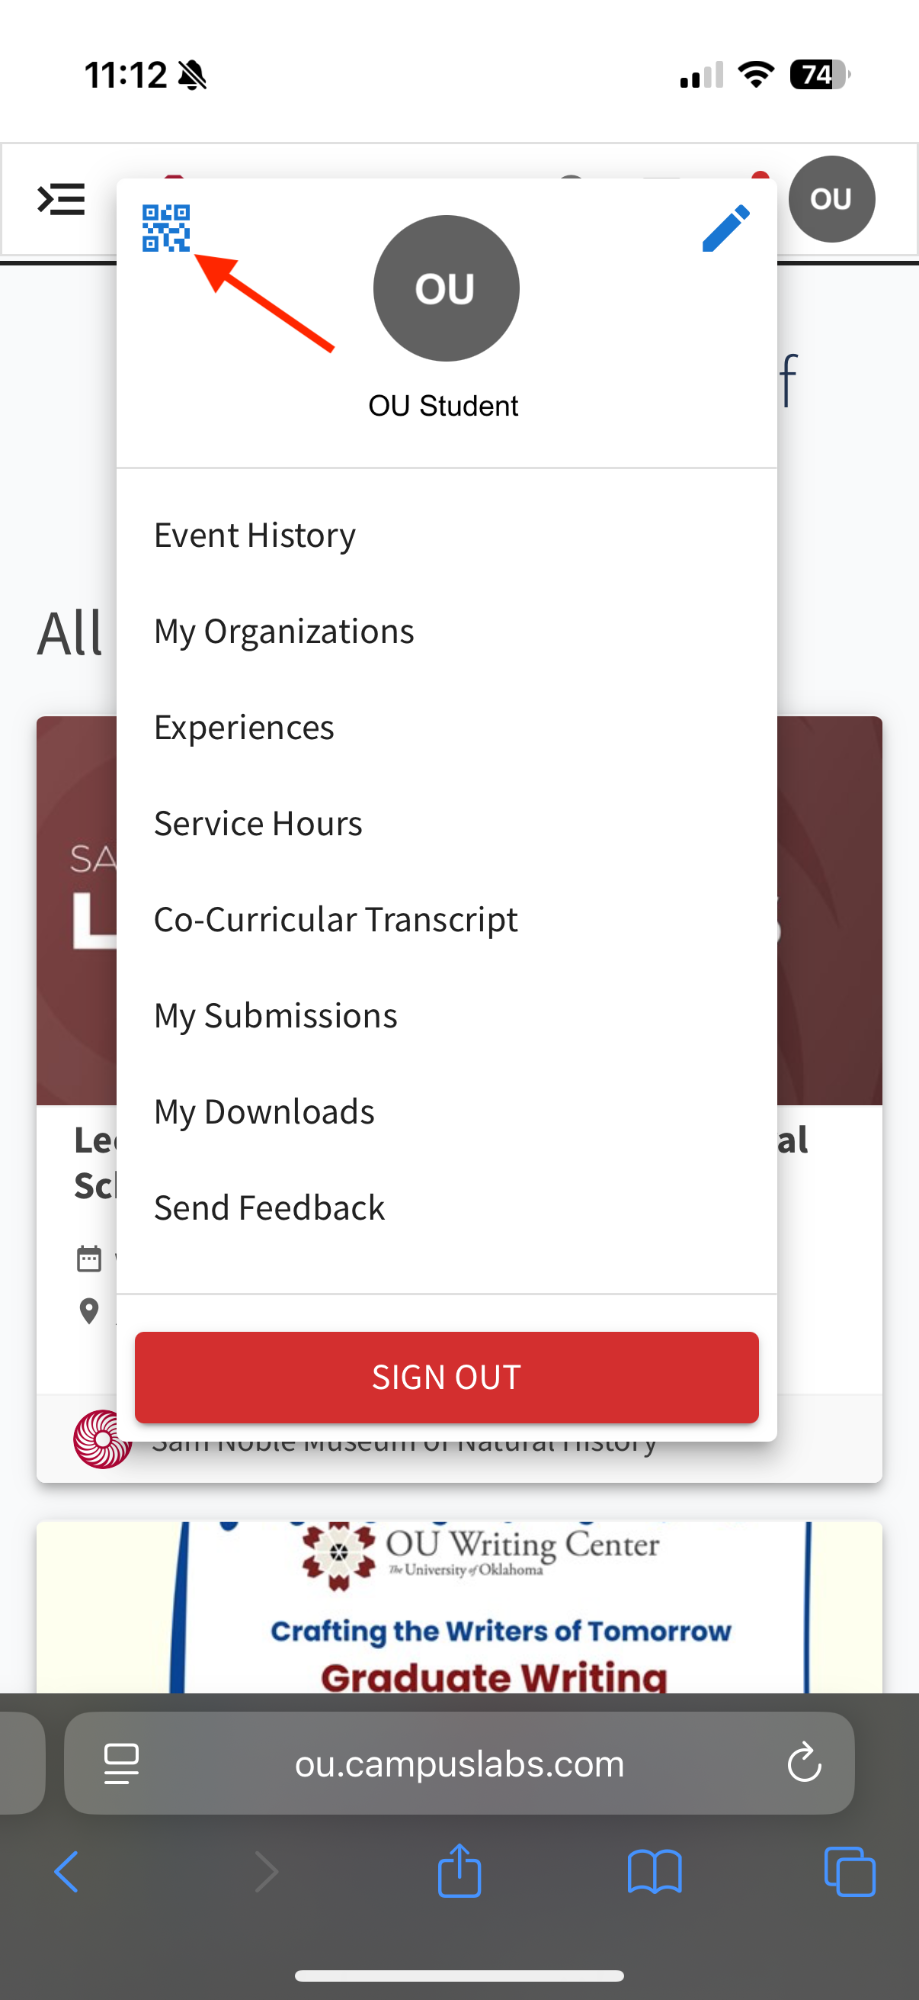
How can I access my personal Event Pass in Engage?
Once the Event Check-in App is enabled in your community, you can find their Event Pass by accessing your User Drawer in the top right of the screen by clicking on your name or initial. An “Event Pass” option will appear and be available for you to access at any time.
Can the Event Pass be accessed on Corq?
It sure can! Simply sign into your campus account in the Corq app, open up the menu on in the upper left hand corner, and select Event Pass.
Can I print or download my Event Pass?
Yes! You can print or download your personal Event Pass. As long as the pass is not altered in any way, a printed version will work fine for scanning into events.
Can administrators print or download Event Passes on behalf of students?
Currently, users can only access their own Event Pass. There is not a method to download the passes in mass.
Do Event Passes stay with a student through their entire time at the institution?
Yes! The Event Pass is unique to the user and will not change over time.
Who should be using the Event Check-In App?
The Event Check-In App is designed to help facilitate attendance tracking at events. For this reason, the app should only be necessary for the users managing each event. You must have “full” access for the Events tool in the organization hosting the event to utilize the Event Check-in App, or you must be given the unique access code to the event by an event manager.
Would the Event Check-In App work well for large events? Can I have multiple people checking in users at the same time?
Yes! The Event Check-In App is a great option for large events. You can have as many individuals as you would like checking users into an event. Make sure these users have “full” Event access for the event before the event begins or have access to the unique event code.
Can I use the Event Check-In App without Wi-Fi or cellular data?
At this time, you must have an internet connection to use the Event Check-In App, either through wifi or a data connection. Participation cannot be uploaded at a later date.
To learn more about how to optimize your campus Wi-Fi for ECIA use during large-scale events and/or peak programming times, please review this article.
What type of hardware and requirements are needed to use the Event Check-In App?
The beauty of the app is that it leverages existing technology, allowing you to check users into events with minimal complications. All you need is an up-to-date phone or tablet with iOS10+ or Android 4.4+.
Can the Event Check-In App scan barcodes on student ID cards?
The app is designed to only utilize the unique Event Passes provided to each user through their Engage account. Though the app can’t scan barcodes, you can still utilize the Card Swipe feature in addition to the Event Check-in App to allow students to utilize their ID cards when checking in for events.
If a student does not have their Event Pass, how do I grant them participation?
You can add participants on the Event Check-in App by using their name or email address. Open the event on the Event Check-In App, select Scan at the bottom, then click No Pass?. Locate the user using the search box at the top of the screen.
Can I remove a user once I have checked them in?
Yes! If you’re in the Event Check-In App, select the Attendees tab, click on a user’s name, and simply click Remove.
Can I track guest attendance in the app?
Yes! When checking in users via “Lookup”, you can tap the “+” at the top right of the screen to enter a valid email address for the guest. This will track the attendance of the guest as an unregistered user within Engage since they don’t have an active account.
Can I track users that are no longer with the institution?
If a user has left the institution but still has an active account in your Engage community, that user would be able to check in through the app using their Event Pass. Once a user is archived from the community, they will no longer have this ability.
Are there attendance tracking functions from the mobile web application without downloading the attendance tracking app?
You can manually assign participation for an event when accessing Engage through a mobile browser. You can also use card swipe (if your campus has enabled this feature) but you cannot scan Event Passes without downloading the Event Check-in App.
How can I check someone out of an event?
If someone is checked in to an event, simply re-scan the event pass and you will be presented with the option to check out that individual. You can also manually check out an attendee by visiting the "attendees" tab and selecting a checked-in attendee.
Can I see how many people are currently checked into the event?
Yes! You can see the count of attendees at your event as you are scanning event passes.
