
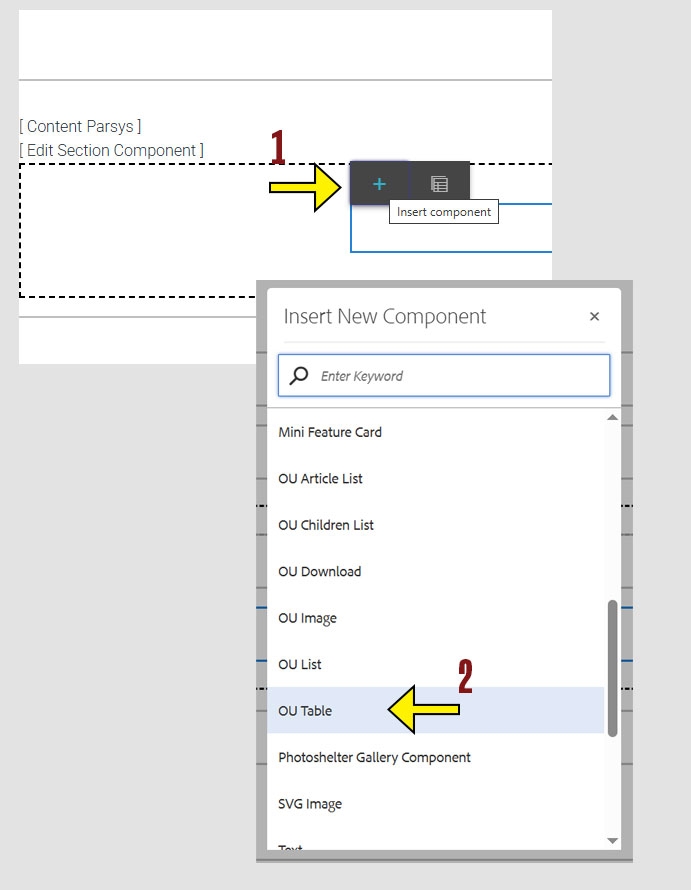
When working within the Content Parsys all web components must first be placed inside of a Section Component
Click within a section component to insert new components.
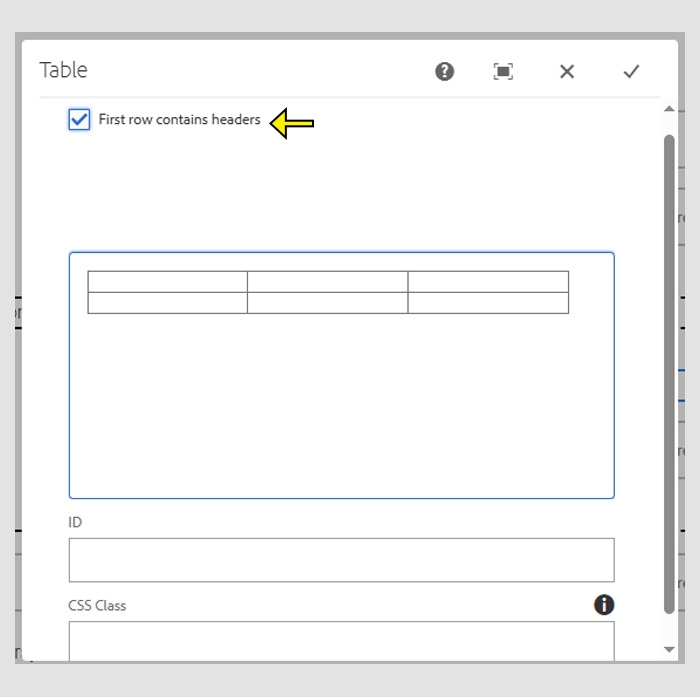
The check box for "First row contains headers" must always be checked for accessibility purposes. This allows users with screen readers to have the information read in an organized manner.
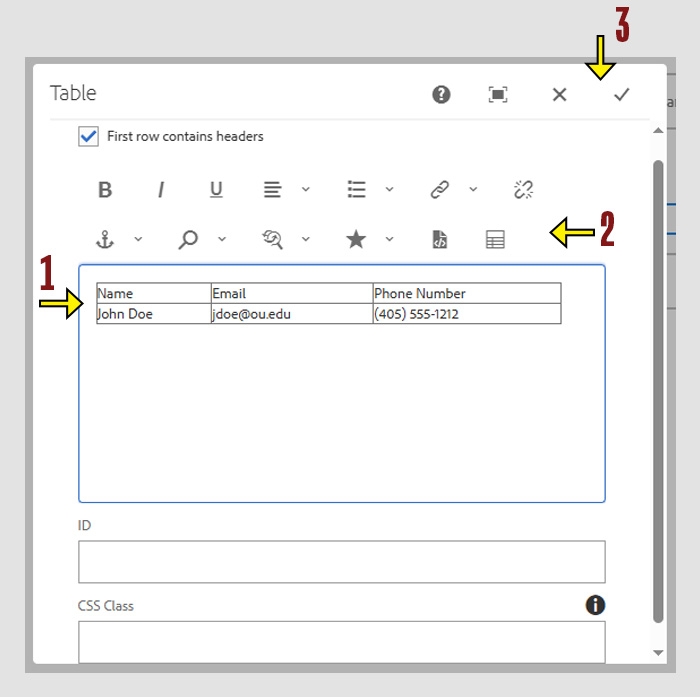
Tip: If you have an existing table in Excel, you can copy and paste the content directly into the table. This will transfer the text, but it will not carry over any formatting or formulas.
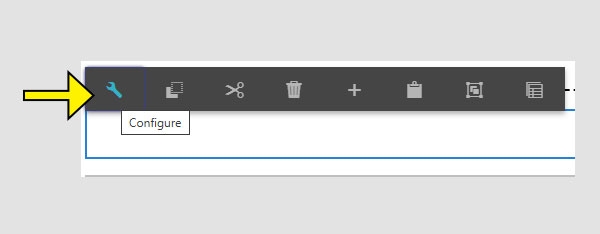
If you need to add or remove data from a table, you can do this using the table tool.
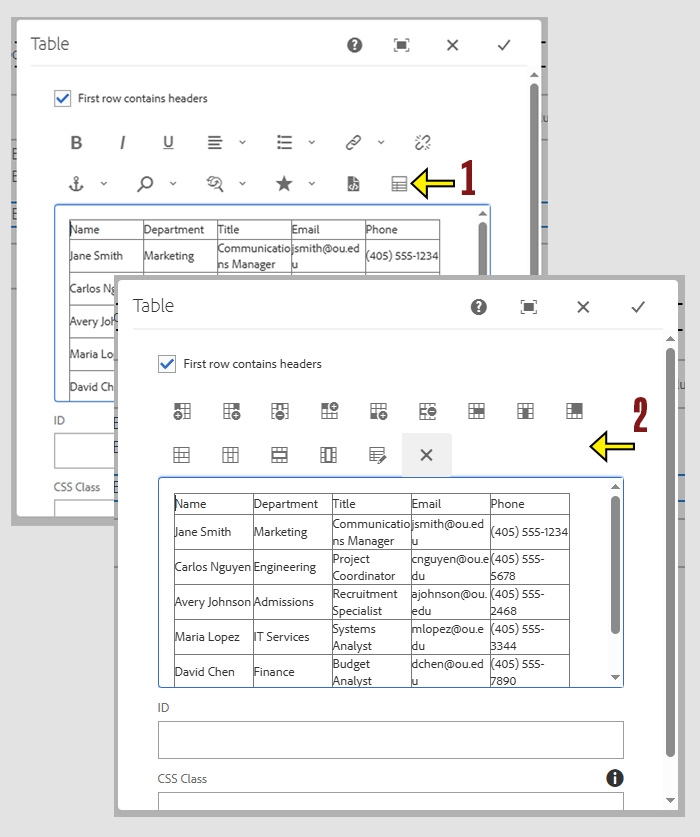
The toolbar provides formatting tools similar to what you’d find in a a spreadsheet program. Here's what each button does:
Tip: Hover over each icon in the toolbar to see its name and function. This is a quick way to learn what each tool does:
Insert Left
Adds a new column to the left of the cell where your cursor is placed.
Insert Right
Adds a new column to the right of the current cell.
Delete Column
Removes the entire column where your cursor is currently placed.
Insert Above
Adds a new row above the current row.
Insert Below
Adds a new row below the row where your cursor is placed.
Delete Row
Removes the entire row that contains your cursor.
Merge Right
Combines the selected cell with the one directly to its right.
Merge Down
Combines the selected cell with the one directly below it.
Merge Cells
Merges all selected cells into one larger cell. Useful when combining several rows or columns.
Split Cell Horizontally
Splits one cell into two cells stacked on top of each other (top and bottom).
Split Cell Vertically
Splits one cell into two side-by-side cells (left and right).
Select Entire Row
Highlights the full row so you can format or modify it all at once.
Select Entire Column
Highlights the full column for formatting or adjusting.
