Producing Video-Based Content
More and more, the modern classroom relies on both recorded and live video content to form a well balanced course. In times of pandemics, its importance increases drastically. In this post, we will explore some recording techniques and review some best practices for introducing video content into your course.
Outline:
- Organizing for success
- Recording tips
- Recording apps
- Delivery and Dissemination
- Recording app examples
Getting Started
As you begin to introduce video content into your in-person and online classrooms, you may begin to encounter difficulty when pacing the amount of content you are producing. How much is too much? How much should I be doing? These are questions that many professors ask themselves when jumping in for the first time. The answer to the question is simply: it depends.
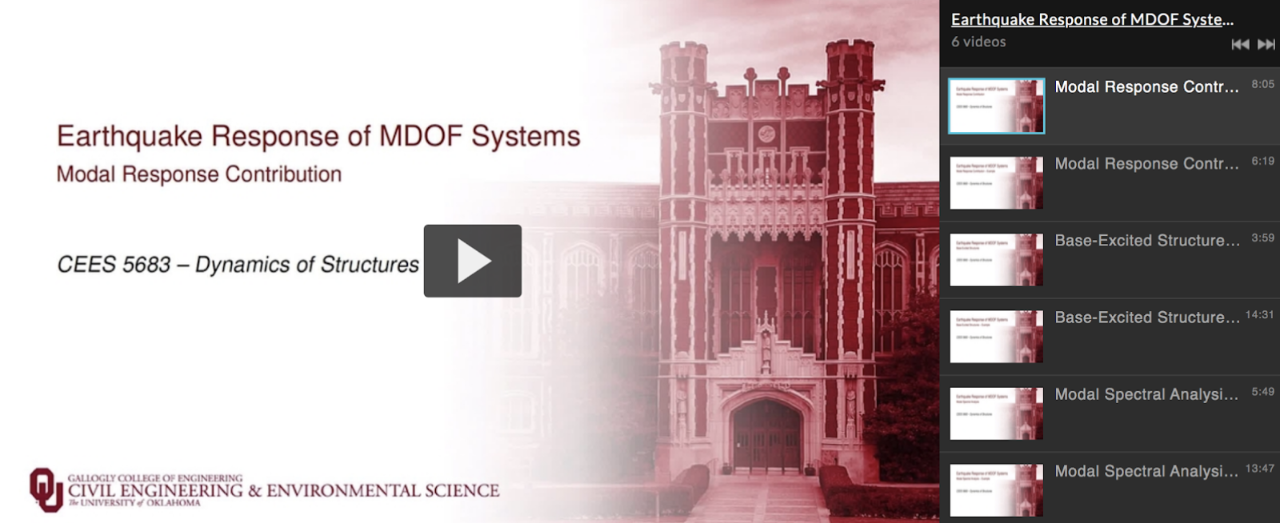
Remember, keeping students engaged must be approached differently in an online format. Student feedback and research1 indicates that content should target short, modularized lessons. How short depends on the subject matter of your course, but generally, video runtimes between 6-20 minutes are optimal.
1Guo, Philip J, et al. How Video Production Affects Student Engagement: An Empirical Study of MOOC Videos.
Modularized Structure
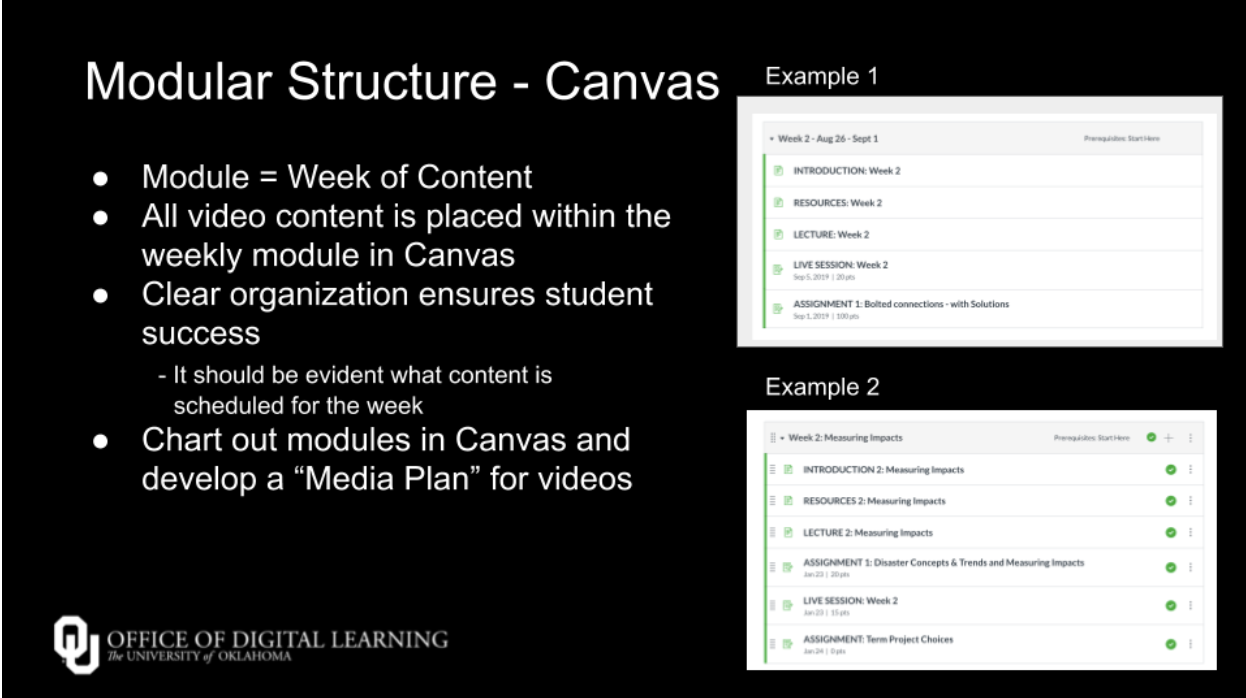
Canvas makes it easy to organize your media (and non-media) content. At the Office of Digital Learning, we suggest using a modular structure. In simple terms, a module is roughly equal to a week’s amount of work. All of the assignments, readings, and assigned media should be clearly viewable in the module of the week. This kind of clear organization ensures students' success and eliminates any confusion in what is expected of the student.
The Media Plan
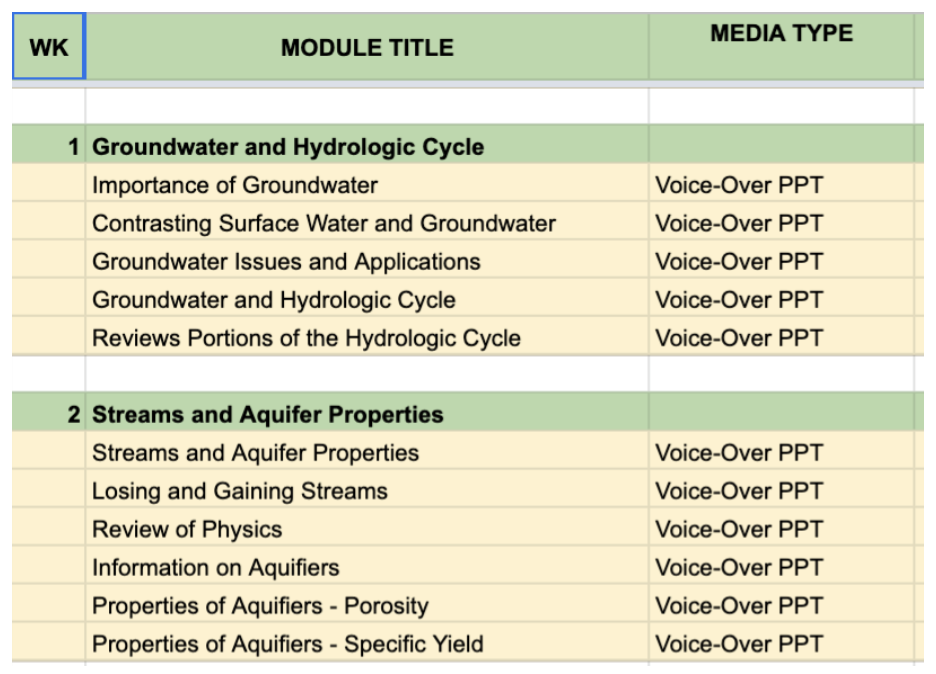
Organizing media can be a bit more tricky if you have a lot of content you are planning to record. Luckily, there is an easy way to outline what you are going to be doing. We call this, “the media plan”. Since you might be using different types of media types (live, pre-recorded, or externally linked), it’s helpful to enter that into your media plan. When you have your plan clearly mapped out, you can now put your full energy into the heart of the course: the content. In addition, if you have others help build your course (teaching assistants, ODL staff), having this document allows them to clearly place each piece of media correctly in your weekly modules. Below is a simple example of a media plan, but we encourage adding more information such as:
- URLs to each video for future use
- Runtime
- Notes section
Recording Best Practices
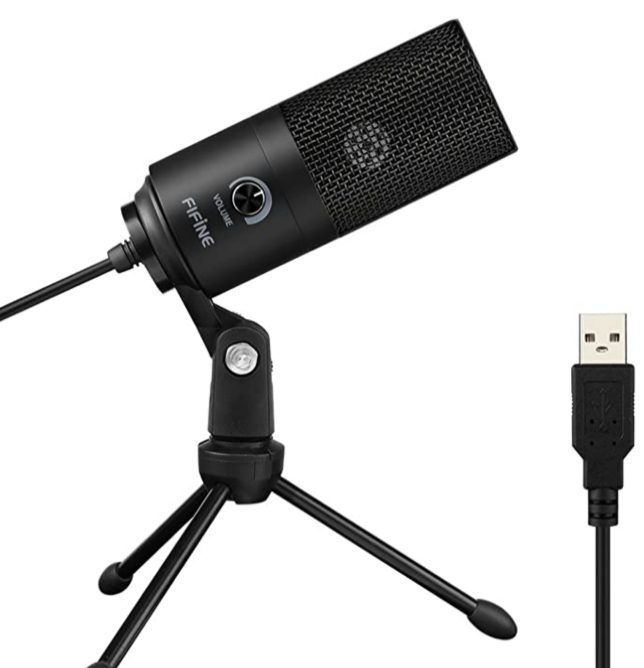
Over the course of time, we’ve come to develop a list of recording best practices to help you along. It might save you some headache down the road if you take to heart some of these tips. First off, create a script if you are doing pre-recorded lectures. Having a script to read off of forces you to be more concise, eliminates stumbles and mistakes, and usually keeps you on topic without rambling. Second, use a microphone. It doesn’t need to be a high end mic, just anything other than a standard default microphone in your laptop. Also, be aware of any background noise such as loud air conditioners and kids.
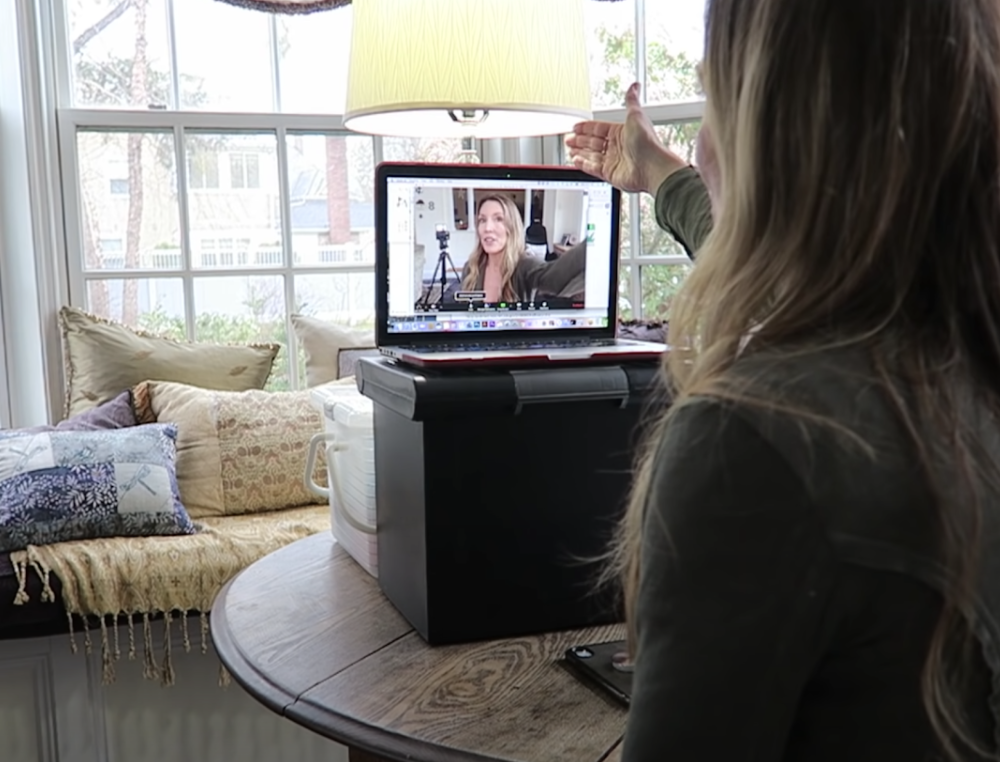
You want to make sure, especially when it’s your first time recording, to keep it simple. A simple powerpoint is a good place to start. More importantly, no matter what you do, be sure to test out your recording solution before starting your final recording. There is nothing worse than recording a 30-minute lecture and realizing after that your microphone was muted.
When doing any lectures that involve your front facing camera, be cognisant of how your camera is angled. Avoid awkward angles such as the classic “up the nose” shot or “half empty” angle. When using your face-cam try to make eye contact with the lens as much as possible, as students seem to engage better this way. Another thing we advise to avoid is using “Picture in picture” mode. For those unaware, this is when you have your face-cam on top of your screen recording. Unless you need your face to be on the screen, we suggest just using the screen recording.
Even though you aren’t in person, be aware of your attire. Just because you are home and not in the classroom doesn’t mean you can’t dress in a professional manner.
Video Production Workflow
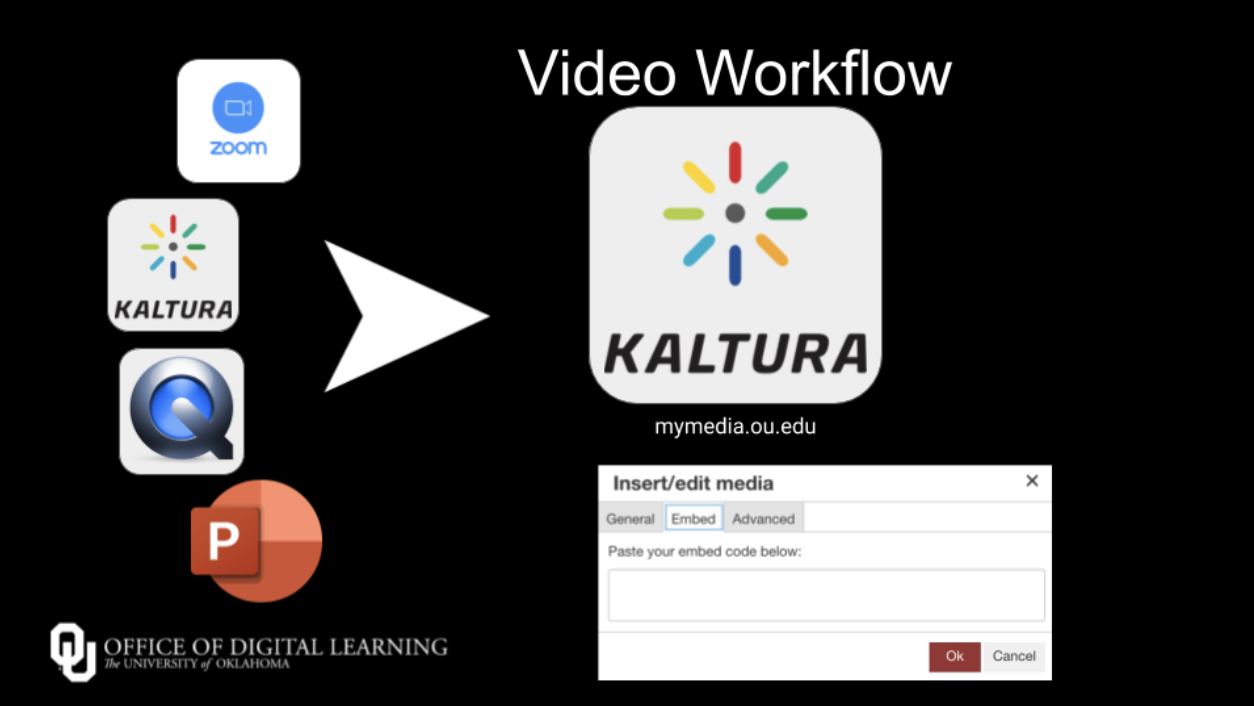
There are a few software platforms that we encourage using, but in essence, regardless of the platform or recording solution you choose, every piece of media should end up in My Media.
MyMedia
MyMedia (mymedia.ou.edu) is the repository for all recorded media you make at the university. The videos you embed into your course on canvas will be stored in this platform, so it’s a good idea to become familiar with all of its features. One of these features is ‘playlists’. You can organize multiple videos into a playlist at once and embed them together into canvas. For one week of content, you might have multiple videos. This is a good way to consolidate them into one player.
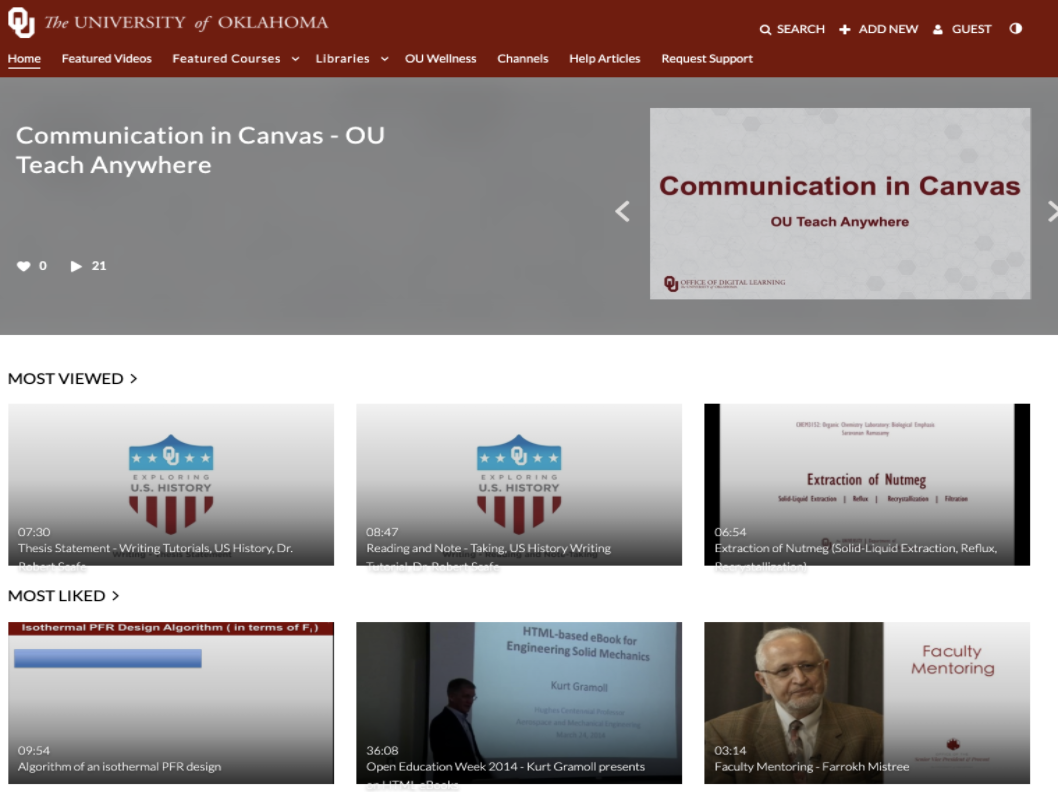
MyMedia isn’t just for faculty and staff as well. Students have access to it as well and can upload content there. Videos can also be shared using the collaboration tool. My media accepts a wide variety of commonly supported video codecs and formats, so you shouldn’t have too many issues if you stick with these listed here. All following software solutions are compatible. You can also upload captions to MyMedia as well.
Recording Software Solutions
Here at the Office of Digital Learning we suggest the use of a couple of different recording softwares, depending on your specific needs and hardware requirements. In most use cases, we suggest either using Quicktime, Kaltura Capture, Zoom or a combination of the three.


- Exclusive to MacOS
- Allows native screen recording
- Allows use of internal/external microphone
- Manual upload to MyMedia required
- Compatible with Windows and MacOS
- Allows native screen recording
- Allows picture in picture (webcam) recording
- Allows use of internal/external microphone
- One-click upload to MyMedia

- Compatible with Windows and MacOS
- Allows native screen recording
- Allows picture in picture (webcam) recording
- Allows use of internal/external microphone
- Automatic MyMedia upload (low-res is auto, hi-res is manual upload)
- Supports live video conferencing
- Records entire meetings/sessions with students
- Whiteboard, iPhone/iPad via Airplay and/or cable portion of screen, music, or computer sound only, other camera
Wrap Up
We hope this blog was helpful to you as you begin implementing video content in your course. As you get more familiar with the techniques and software platforms outlined in this post, we are confident that media recording and planning will become second nature. For more information on recording as well as other online resources, visit http://www.ou.edu/teachanywhere.

